
I’m still a good four more mince pies and at least two viewings of Love Actually away from feeling fully festive but I’m getting there slowly! Eva has been asking if it’s Christmas every morning for approximately 7 weeks now so I thought adding a little Christmas cheer would make it more special for her.
It’s the first Christmas she’s been old enough to understand what’s going on completely so we’re trying to make it as fun as possible for her so a merry and bright theme was in order! I’ve been adding decorations around the house for the past week or so, doing a little bit while Ottie naps, and Eva’s excited to see what’s new when she gets home from nursery every day.
The first thing I did was make garlands for Eva’s play room and the kitchen to add a bit of festive cheer! I’m pretty happy with how they turned out so thought I’d post a quick tutorial in case anyone else fancies having a go at them.
You will need:
- Printer and paper
- Felt squares
- Scissors
- Glue gun or glue
- String or ribbon
Step One
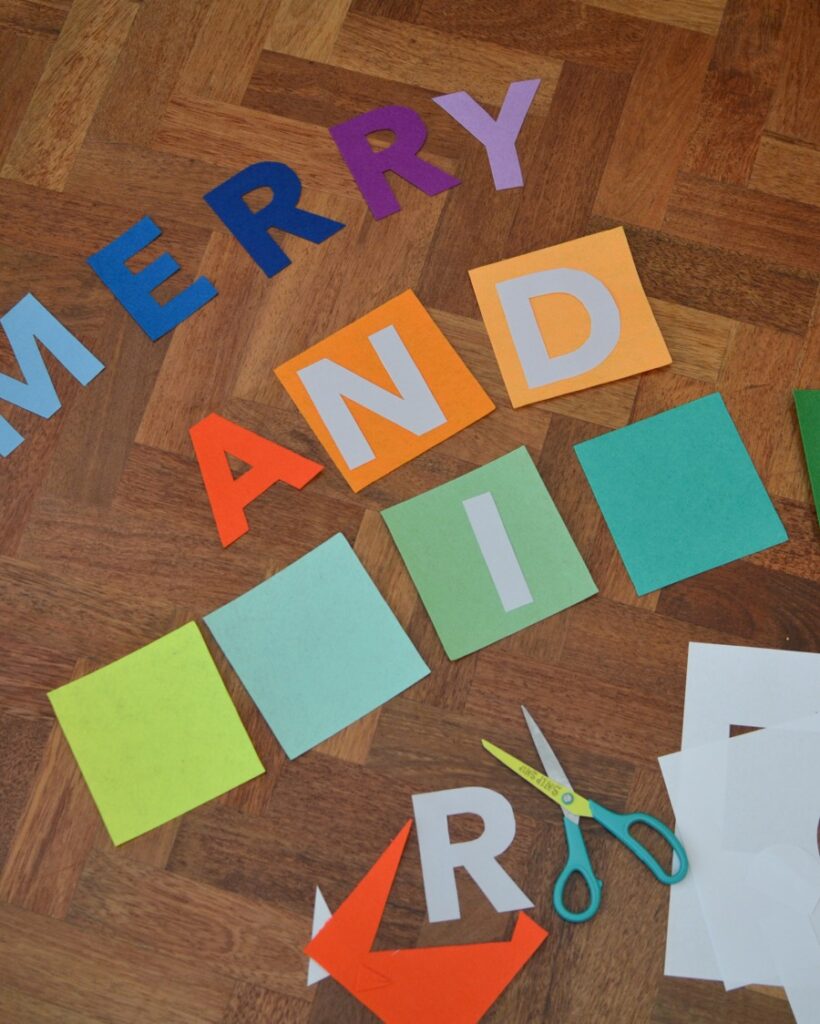
Choose the phrase or words you’d like to have on your garland, so far we have Merry and Bright, Fa La La and Let It Snow. Then write it out in Word or Google docs and choose you font you’d like. I went for Avenir Next in 450pt which is a bit smaller than A5 size but you can experiment with different sizes and fonts as much as you like.
Once you’re happy with them, print the letters out. I made the words grey so it didn’t waste loads of black ink.
Step Two
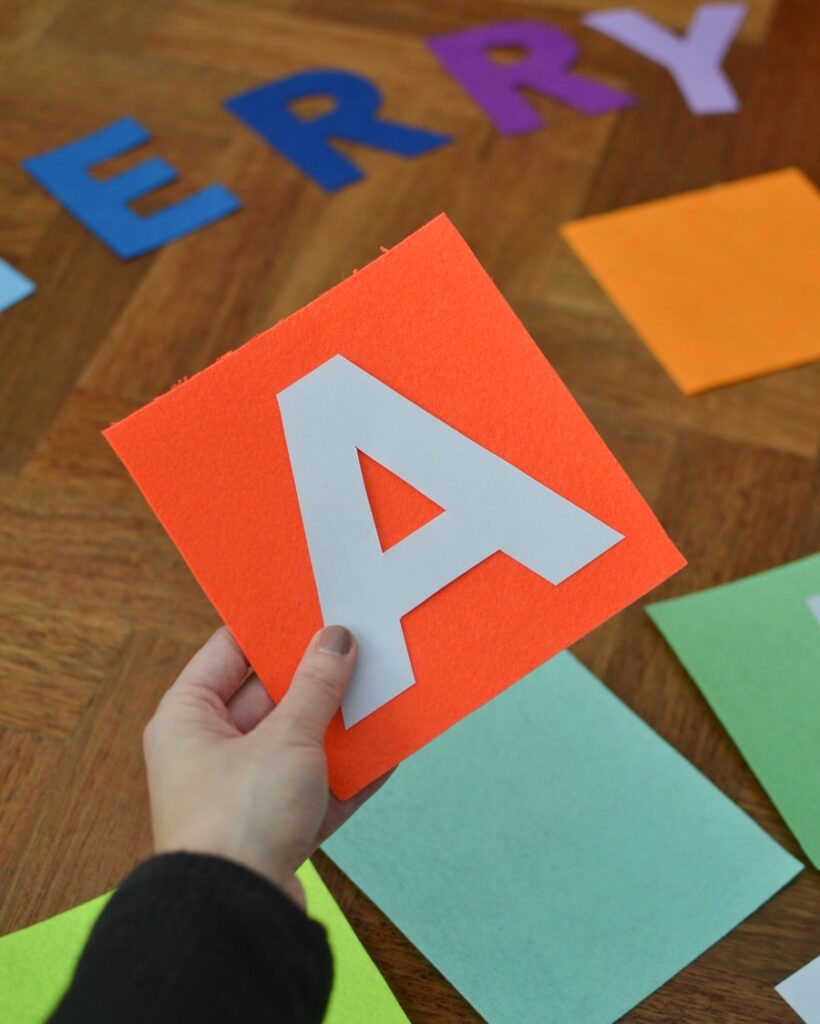
Once you have your letters printed, cut each one out. Then select which colour felt squares you’d like for each letter, I went for bright colours in different tones.
Step Three
Place the cut out letters on the felt squares and cut round them carefully so you have all the letters you need in felt.

Step Four
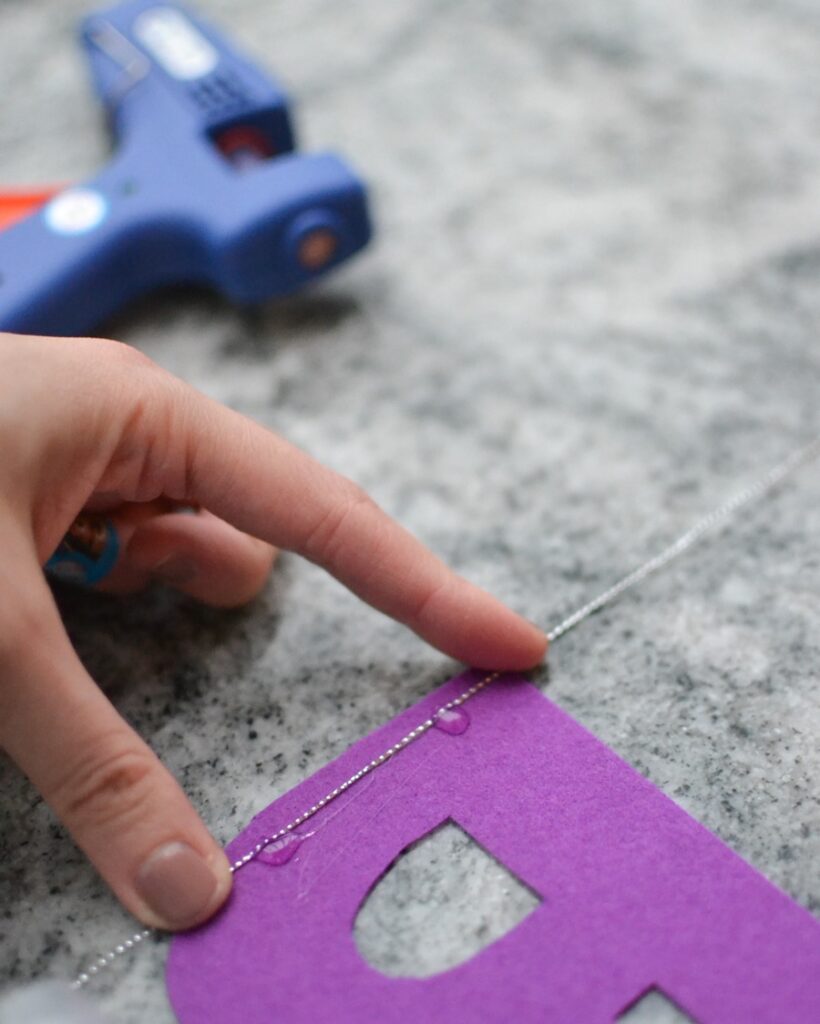
Lay out the letters backwards and so the words are back to front (I definitely had YRREM the first time I tried) making sure the letters are evenly spaced. Then cut out a long piece of string or ribbon across the top of the letters making sure you have plenty on each side to hang up the garland when you’re finished.
I went for Merry, And, Bright on different strings because of the space I wanted it in but you can have it all on one string if you prefer. That’s what I’ve done for the other garlands in the house!
Step Five
Use a glue gun (or standard glue) to secure the string to the top and wait for it to dry.

Step Six
Once fully dry, hang it up wherever you fancy! I used tiny nails and hung each garland up from them. Eva absolutely loves them!
Now time to make 100 more paper chains! If Ottie keeps napping well our house is going to end up looking like the toy shop in Elf after Buddy stays overnight…


rere
Thanks for sharing