I’ve been looking for a cute little turban or headband for Eva for spring and summer, when the days are a bit chilly but she won’t need a proper hat. I hadn’t found one I loved so I decided to have a go at making a few to see if I could figure out a few styles, they were so easy to make I thought I’d share! I used a few different patterns and photos that I found on Pinterest to make up the below, I couldn’t find one that was what I wanted or easy to do so hopefully these help if you’re looking to do something similar.
I’ve put together 3 quick and easy baby turban and headband tutorials for you to have a go at (and for me to look back on when I want to make more!). The steps are pretty quick as I made them while Eva was napping so if there’s any step that isn’t clear enough, please let me know and I can add in more info to make it easier to follow.
You could also make these in toddler, child or adult sizes, I have included references for Eva’s age below but they are all adjustable so you can twin if you fancy!
Quick and Easy DIY Baby Knotted Headband Tutorial
This is a really quick tutorial for a cute knotted baby headband! This is my favourite one of the 3 as it’s so simple but looks so good. You can use any stretchy fabric you fancy but I’ve used a t-shirt I was going to take to the charity shop anyway post Marie Kondo-ing my wardrobe.
This should take about 5-10 minutes, even quicker if you use fabric glue. You can also use a sewing machine for this if you have one to make it sturdier, but Eva was asleep when I was making these so I was being as quiet as possible! I’ve also left the edges raw as I liked the other side but you can sew/glue them up if you prefer.
What you need:
- Scissors
- A t-shirt
- Needle and thread (or you can use fabric glue to make it even easier!)
- A baby hat is useful to have for sizing
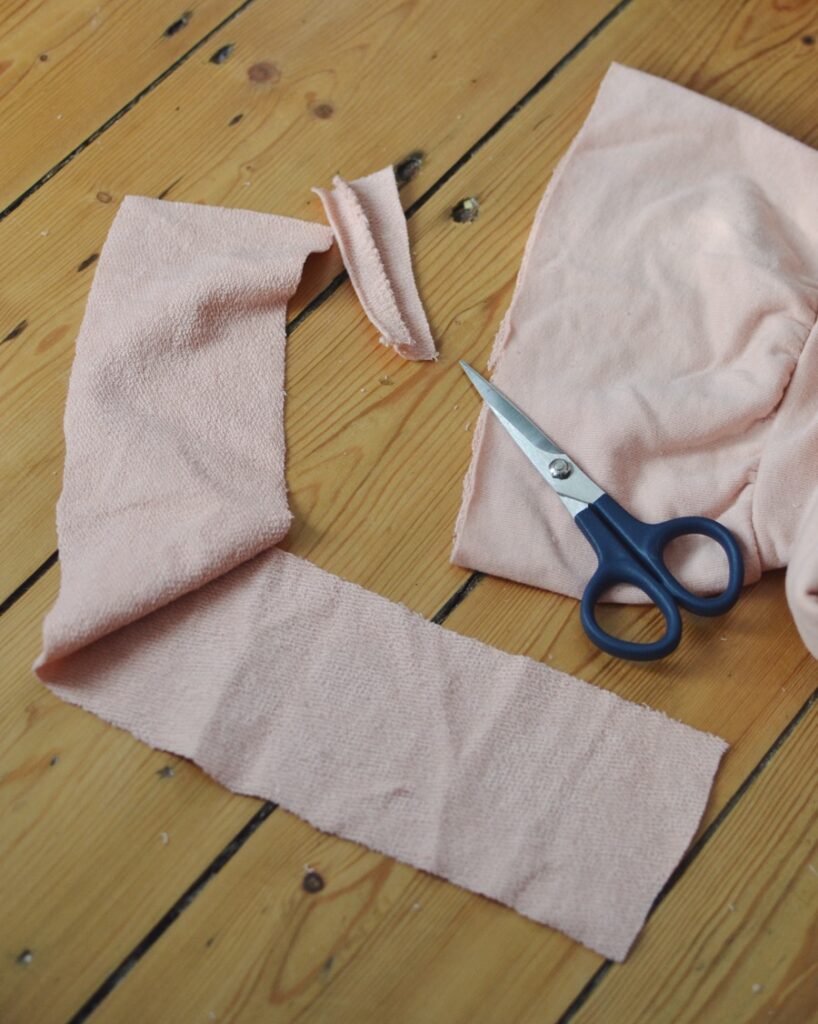
1. Take the t-shirt or fabric and cut a strip about 3 inches wide (wider if you’re making them for a child or adult), I used a wide t-shirt arm here but you can use the body too depending on the size you need. Cut off the seam side so you have a strip of fabric, the one I used here for Eva (who is nearly 7 months old) was about 12 inches long for reference.
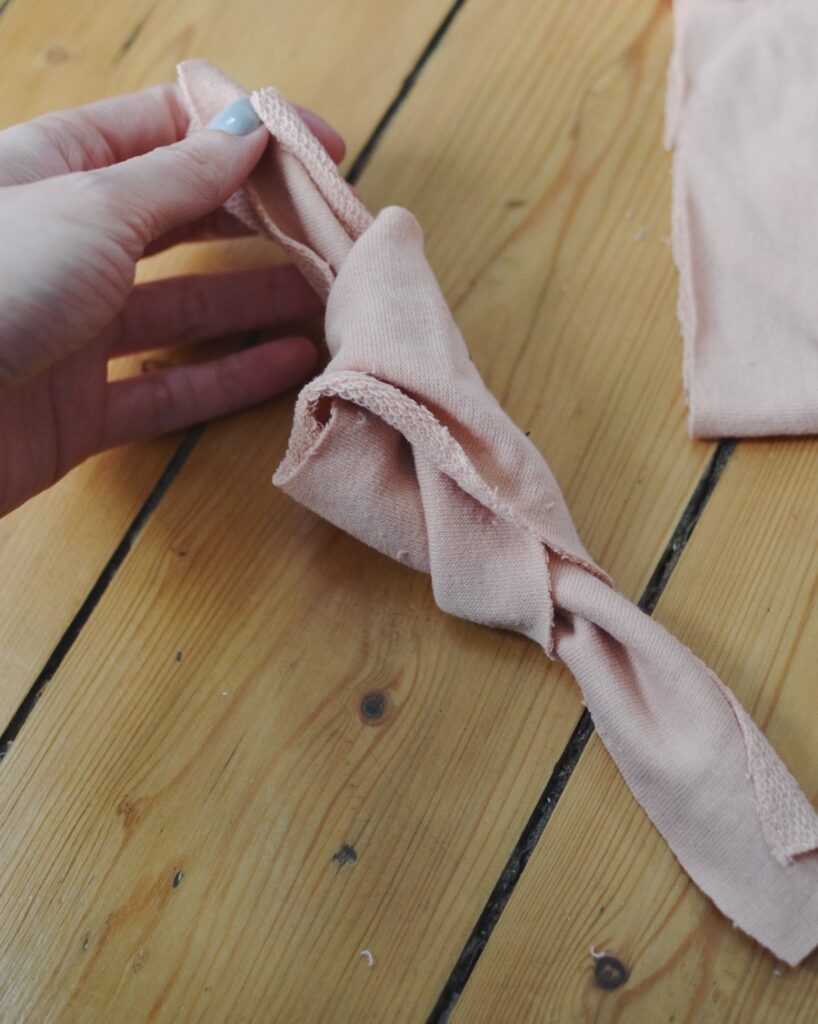
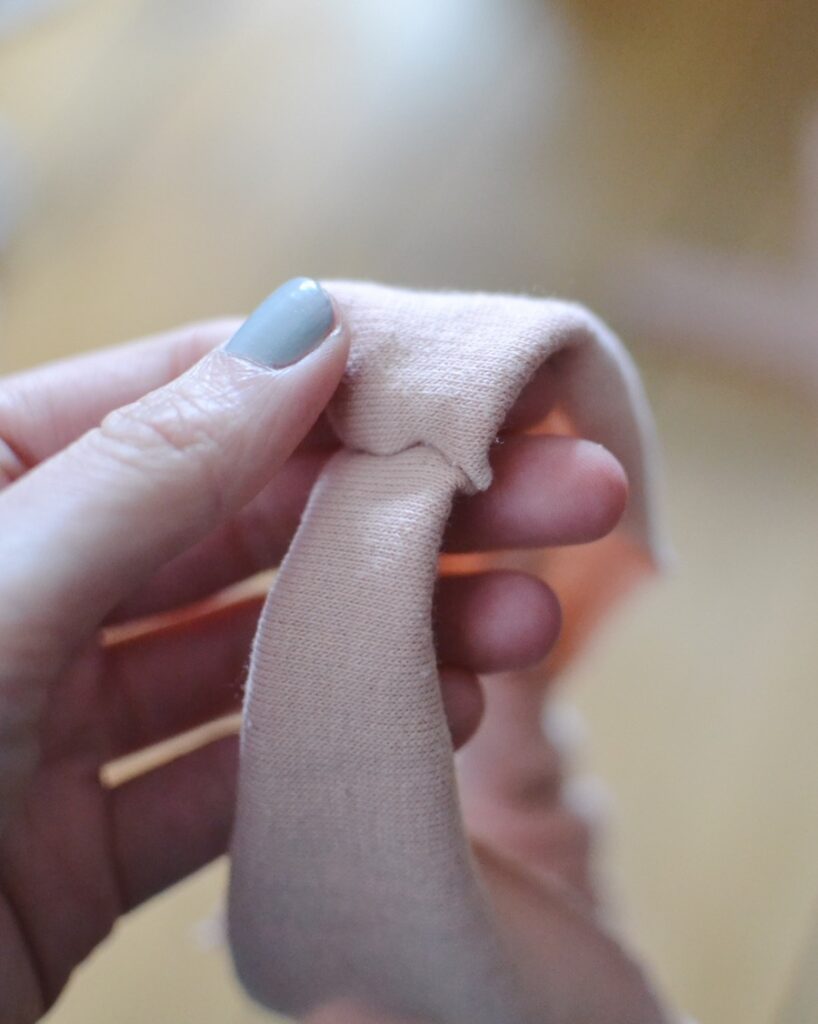
2. Tie a knot in the middle of the strip. If you would prefer to not have raw edges, sew the strip into a tube before this step.
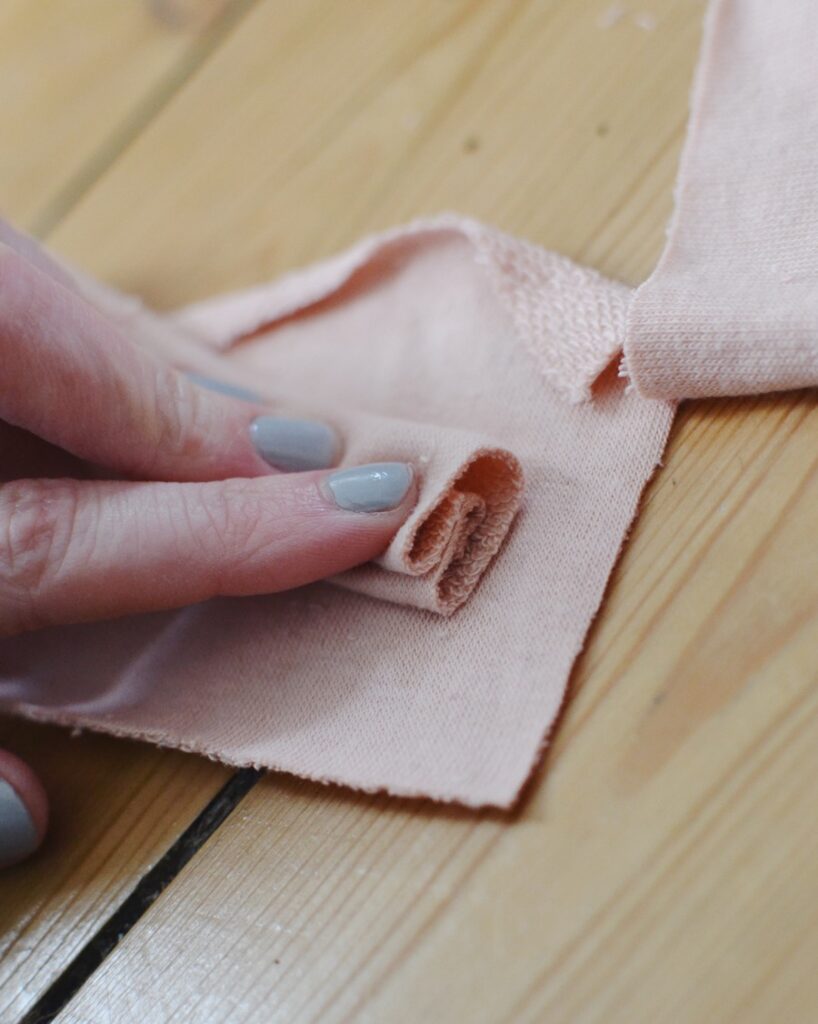
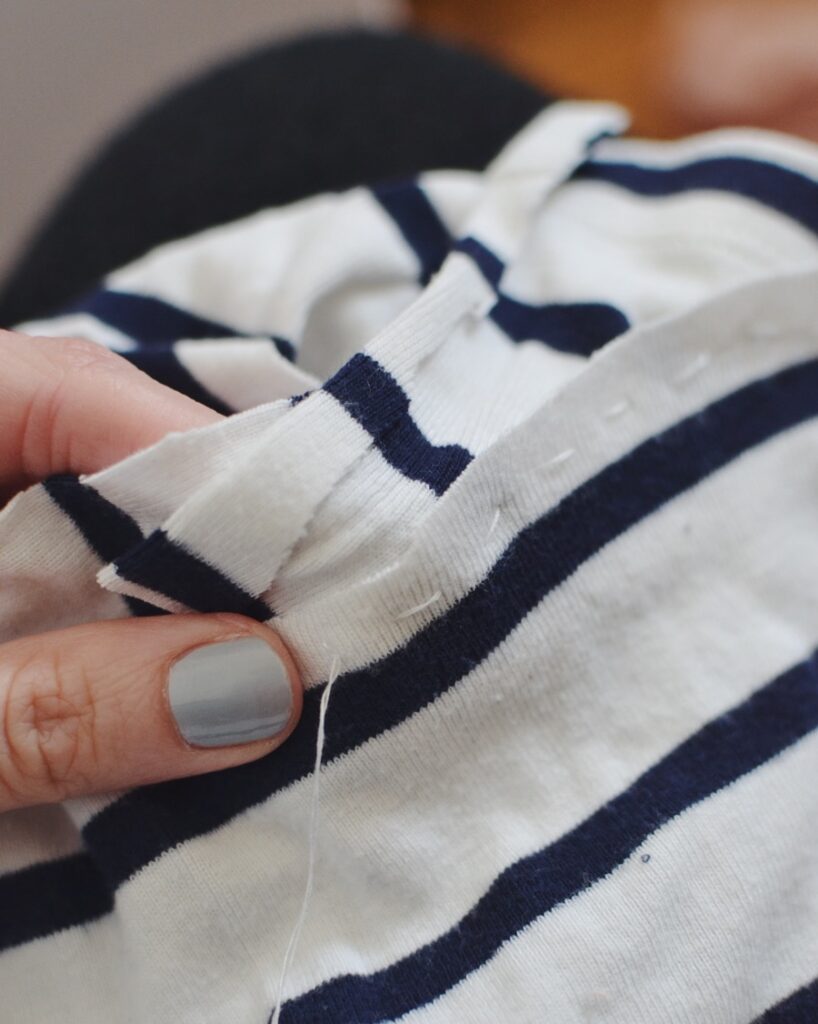
3. Take each side of the strip and tuck in the edges to keep it tidy and avoid fraying. Check the sizing against your baby or the hat you have to hand to make sure it will fit, having a nice stretchy fabric will be best for a baby so it’s comfy for them. Trim the ends to the right size.
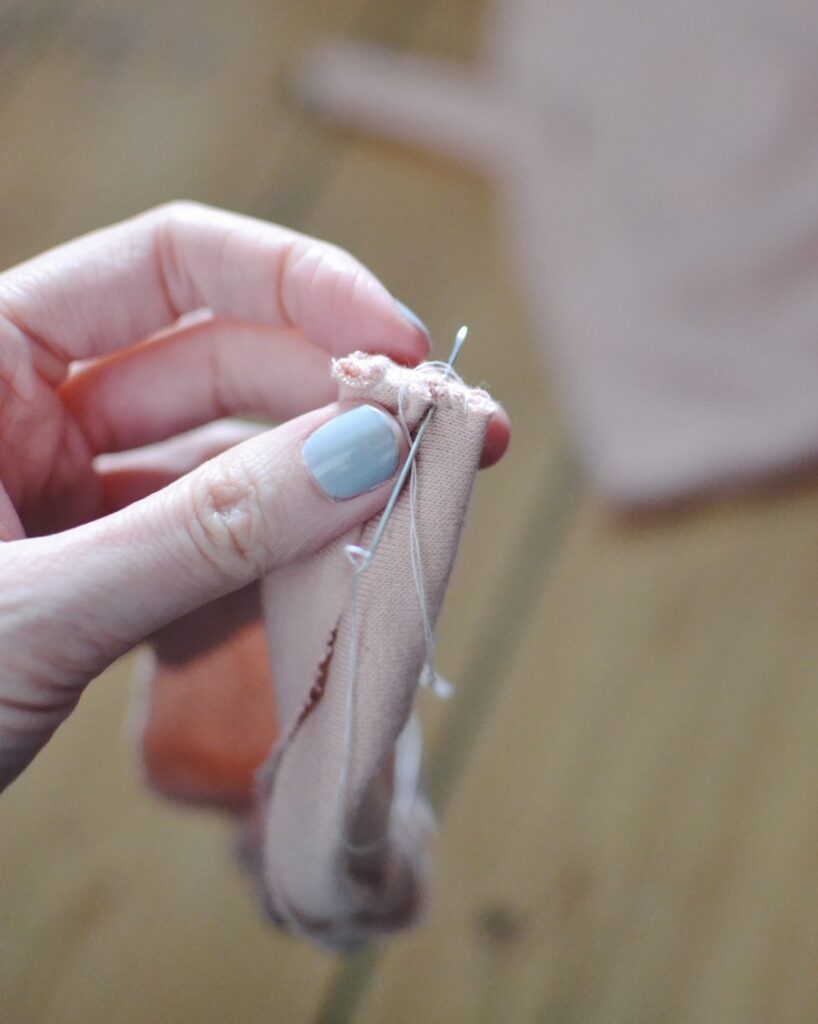
4. Sew the edges together on the inside (that will be facing their head) so you have a tidy seam.

5. Tweak the knot to make sure you’re happy with it and tadaaaa, it’s done!
Quick and Easy DIY Baby Turban Tutorial
This is probably trickiest of the three, it should take about 10-15 minutes to make. I used a crochet pattern for this to get the right shape to begin with and then winged it from there and it turned out pretty well! The tutorial below isn’t the clearest unfortunately as it’s quite tricky to show the steps but please let me know if you have any questions and I can add in any more info where needed. Just make sure you have plenty of fabric at the back, babies have surprisingly large heads!
I hand sewed this but I would recommend using a sewing machine if you have one to make it sturdier, I’ll be going back over my hand stitches when Eva is awake to make it more secure. But it’s whatever you’re happy with!
What you’ll need
- Scissors
- A t-shirt or stretchy fabric
- Needle and thread or a sewing machine
- A baby hat is useful to have for sizing
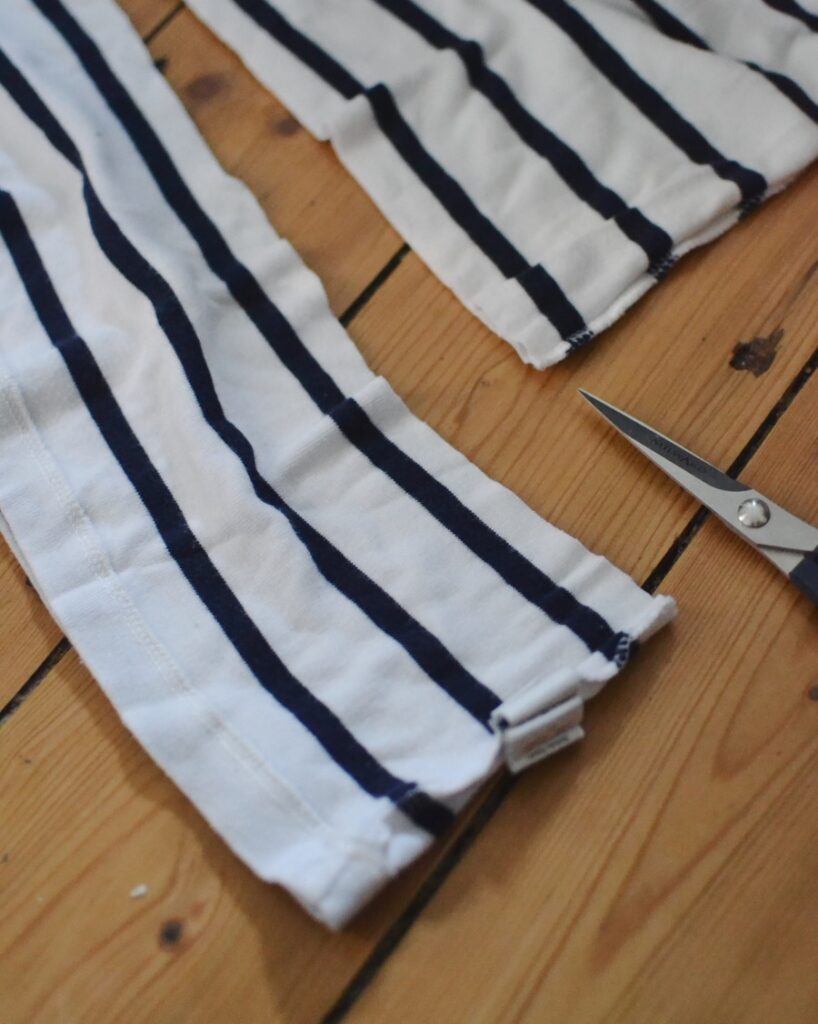
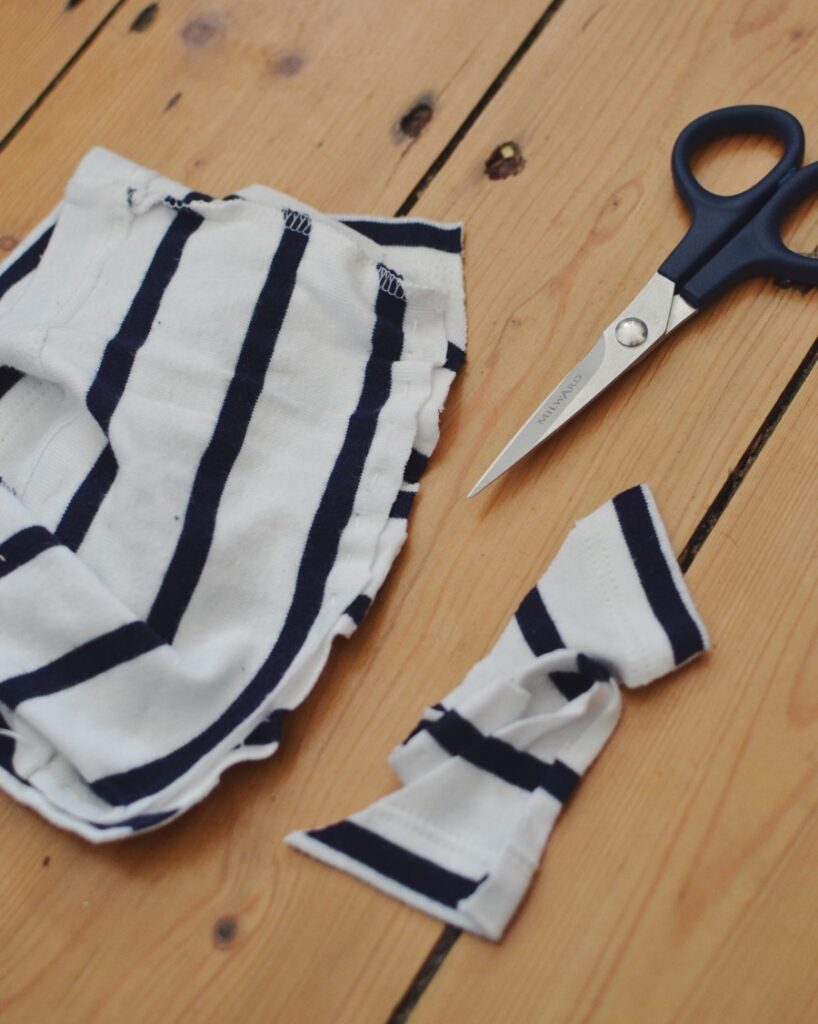
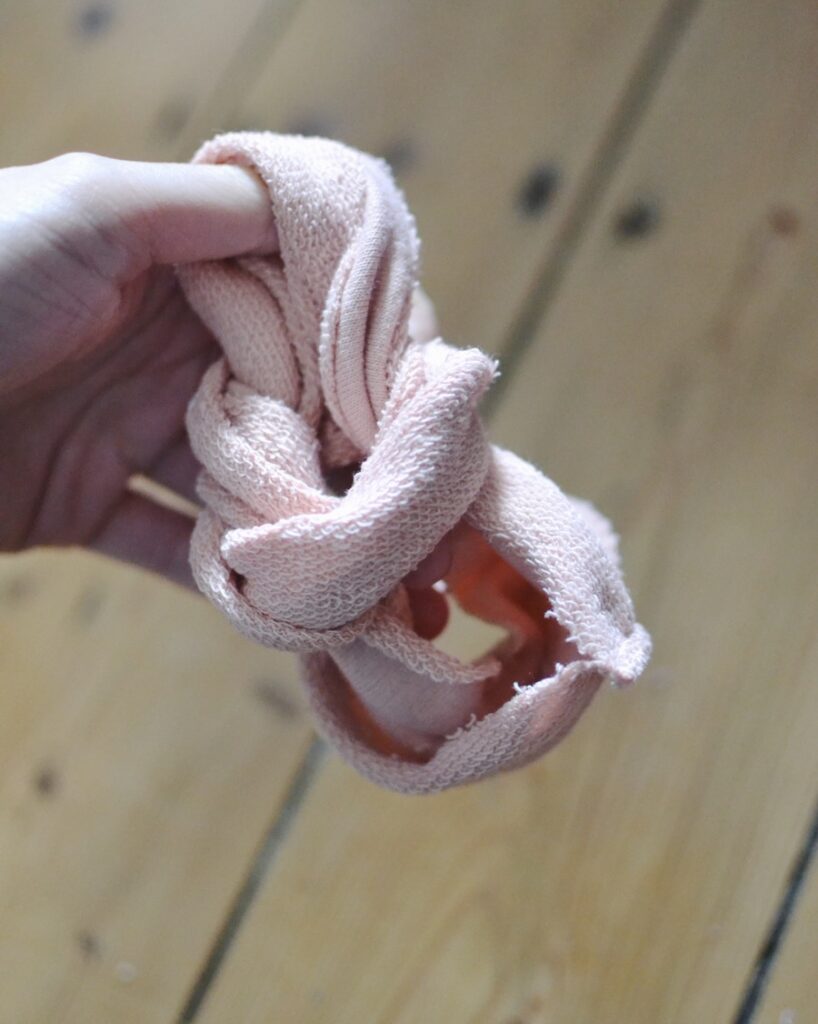
1. Cut a strip of off your t-shirt about 4 inches wide, I’ve used the bottom so I could use the hemmed edge for the bottom of the turban. All about those time savers! But if you’re using fabric instead, I’d recommend sewing in a quick hem here unless you’d prefer a raw edge.
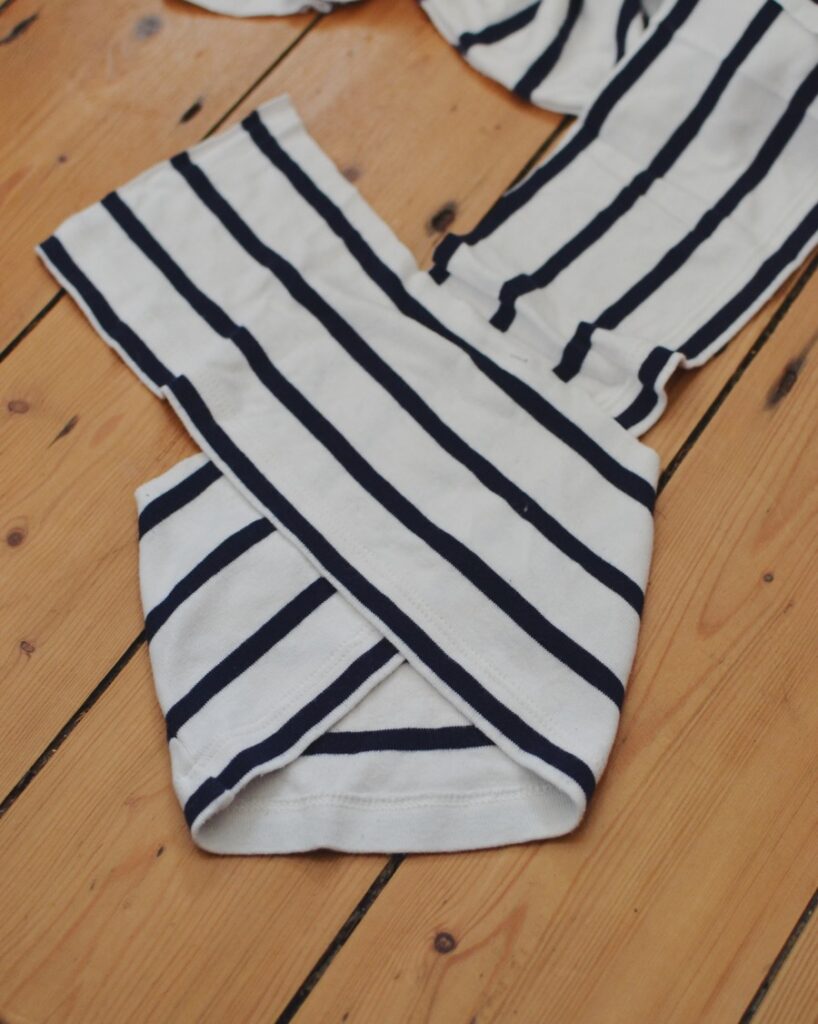
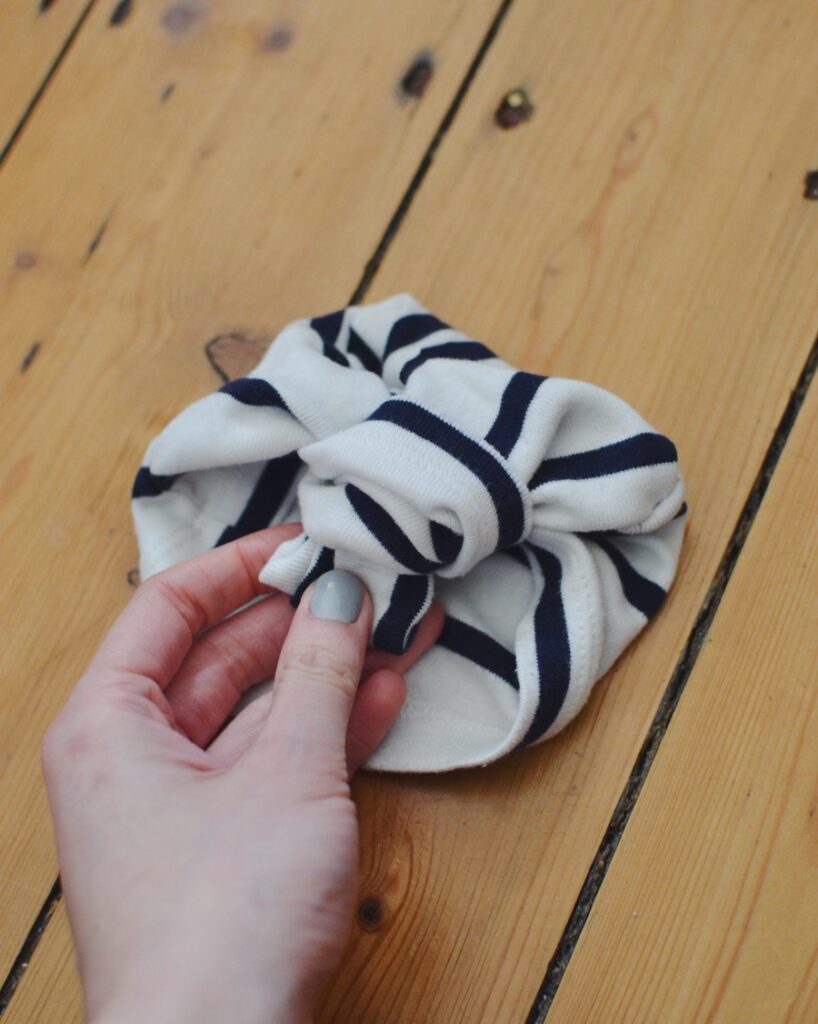
2. Cut down one side so you have a long strip of fabric. Place the strip face down with the seams on the outside (make sure any other side seams are to one side when you do this so it’s not at the front of the turban), and cross over each side like in the image above. Trim the longer strips here so you have about 4 inches excess or enough to fold over, like the flap to the left in the image above.
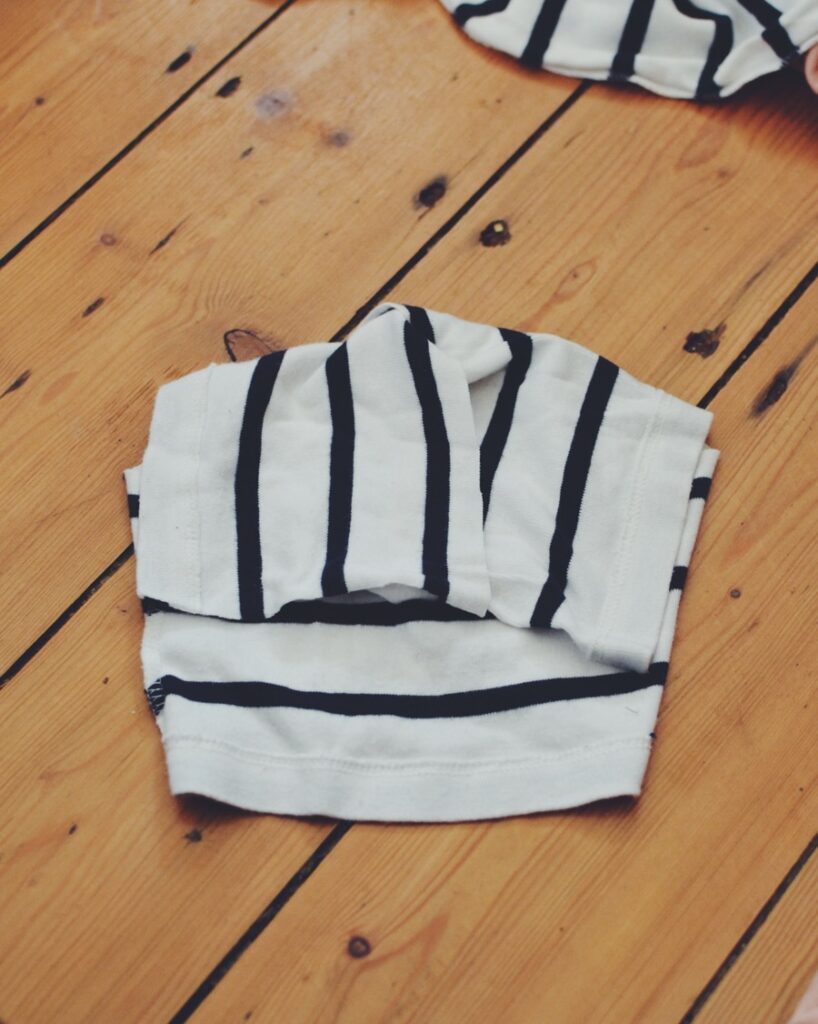
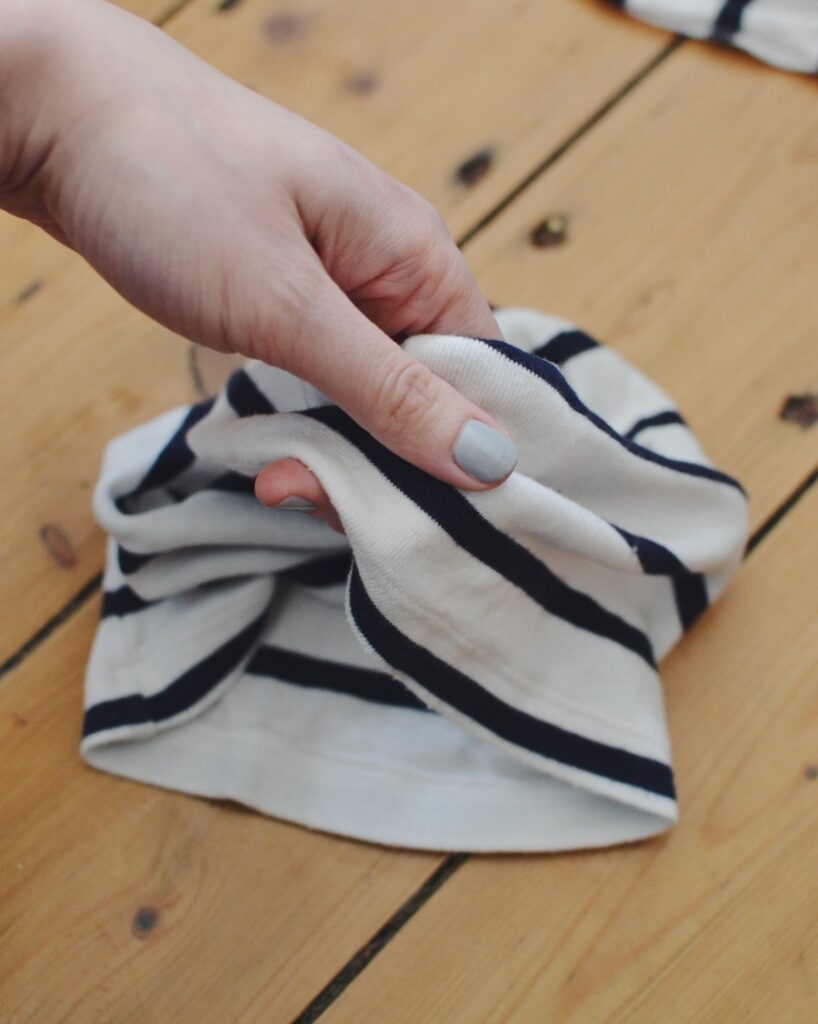
3. Turn the turban over and fold down the flaps so you have something that looks like the image above. This is the back view of the turban. Make sure you have plenty of fabric here as babies heads are surprisingly large! When I make Eva another one, I’ll make it bigger at the back as I underestimated how big her head was!
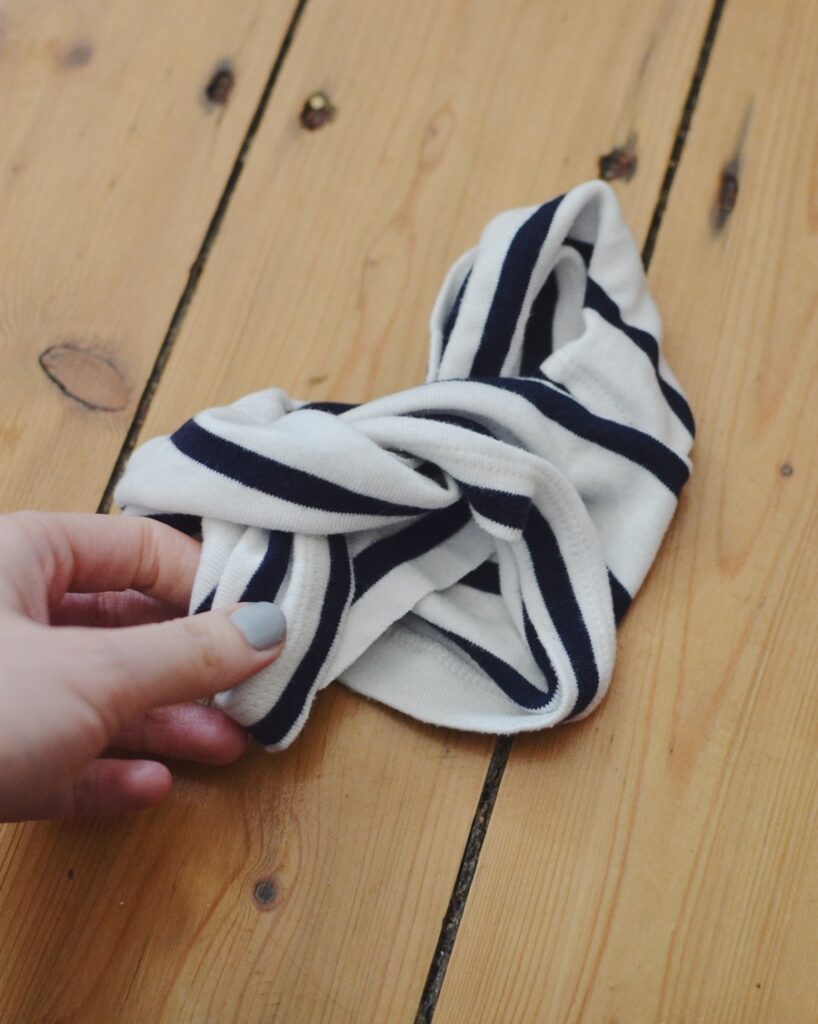
4. This is a pretty tricky to explain but but lift up the flaps so you can get to the back section of the turban, then sew along the line securing the flaps to the back section (sew so the stitches will be on the inside when you turn it out) and you’ll start to see the turban emerging properly. Sew along the back section leaving the front section un-sewed.
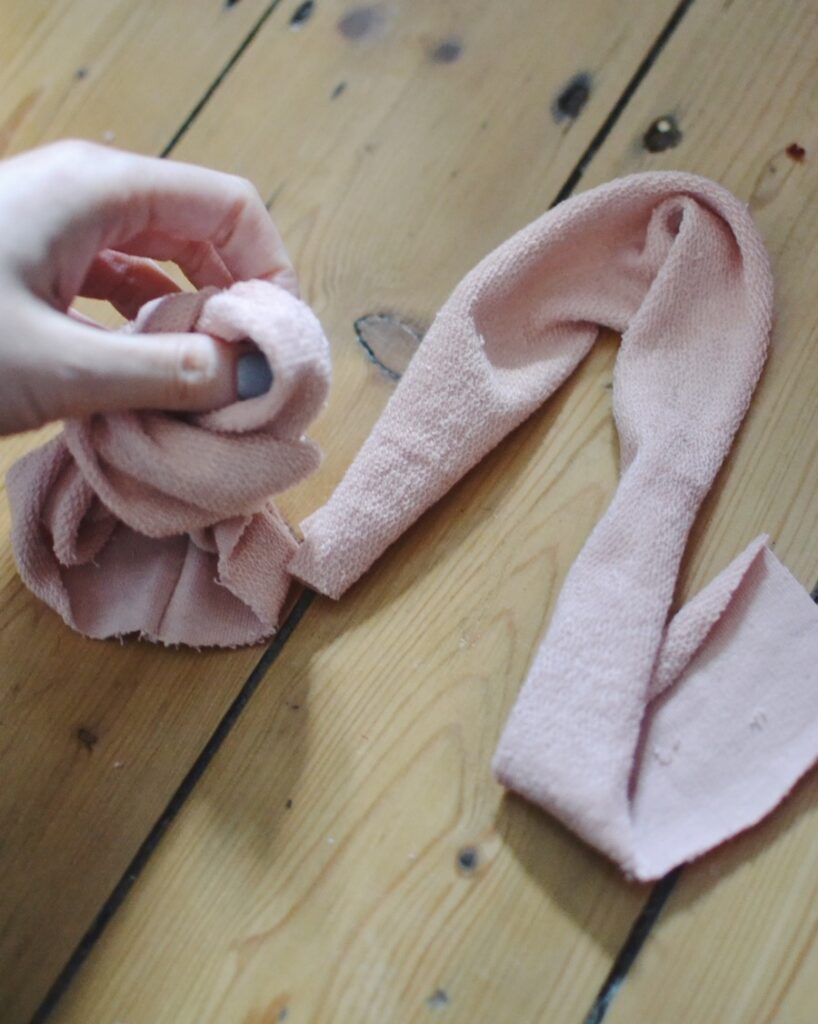
5. Trim off the excess to keep it all nice and tidy. Then turn it out so the seams are now on the inside.
6. This is the front view, it’s starting to come together! You should have two loose sections that cross over like in the image above.
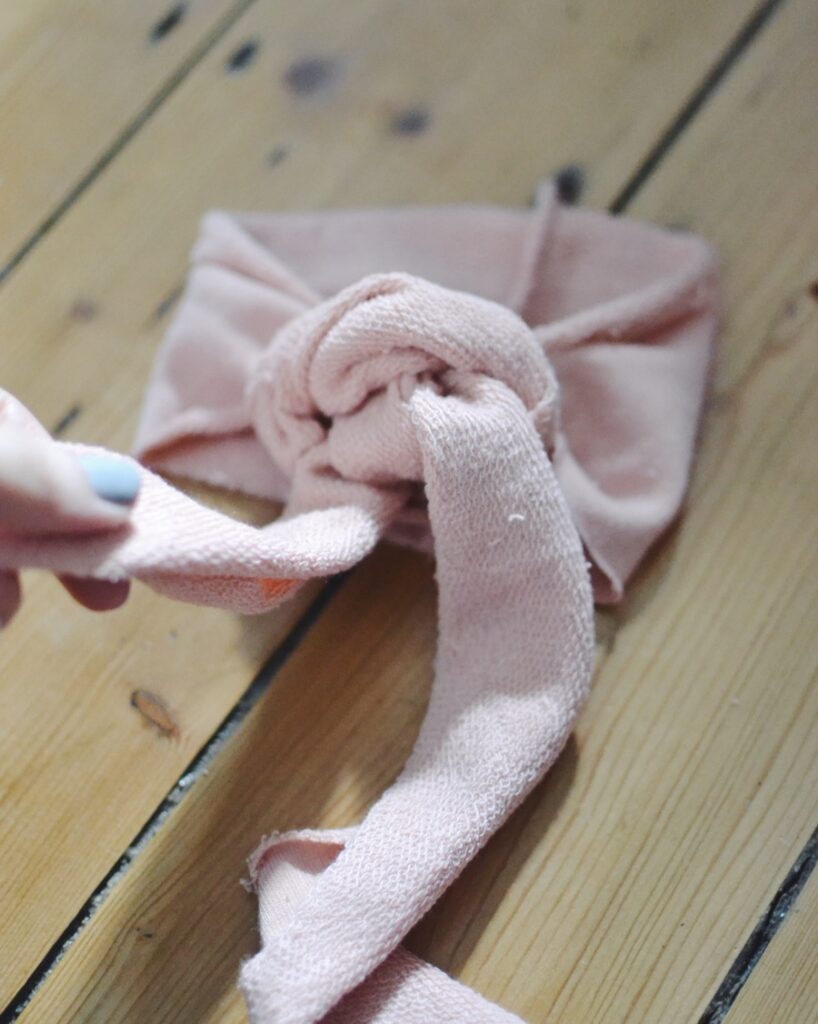
7. Take the loose sections and tie them in a knot to adjust to the correct size for your baby, use the hat for size guide here!
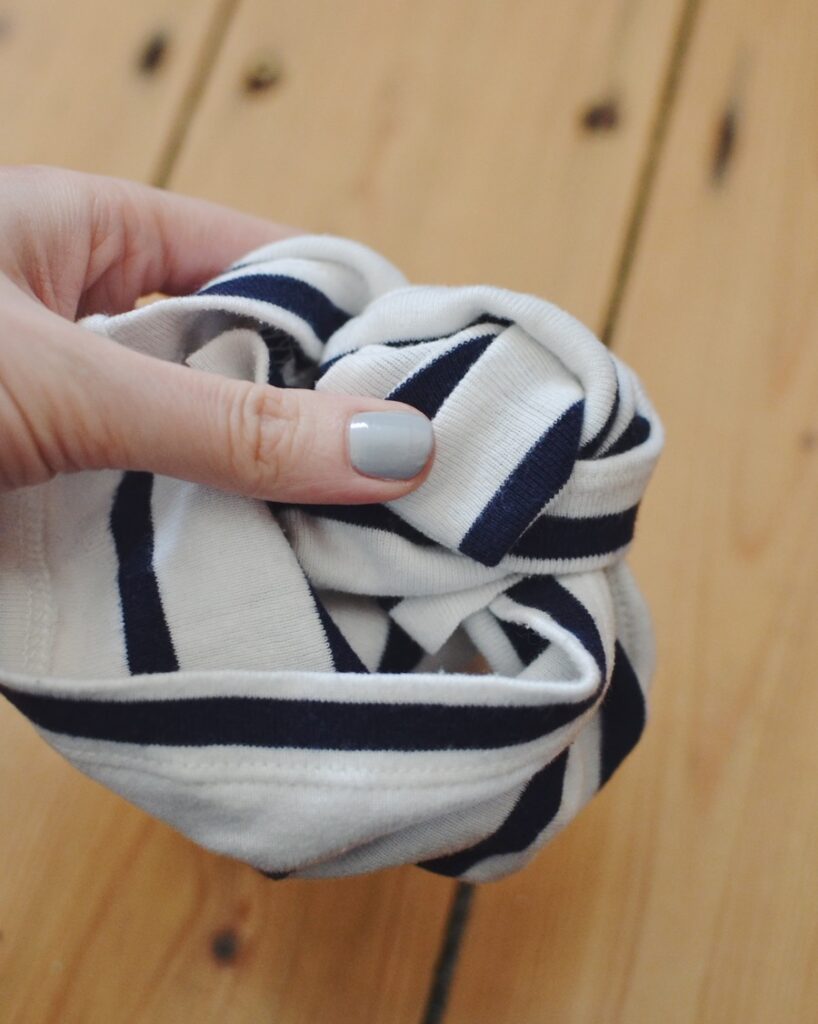
8. Take the edges of the knot and tuck under so both edges are on the inside of the turban as in the images above. Sew these underneath to secure.
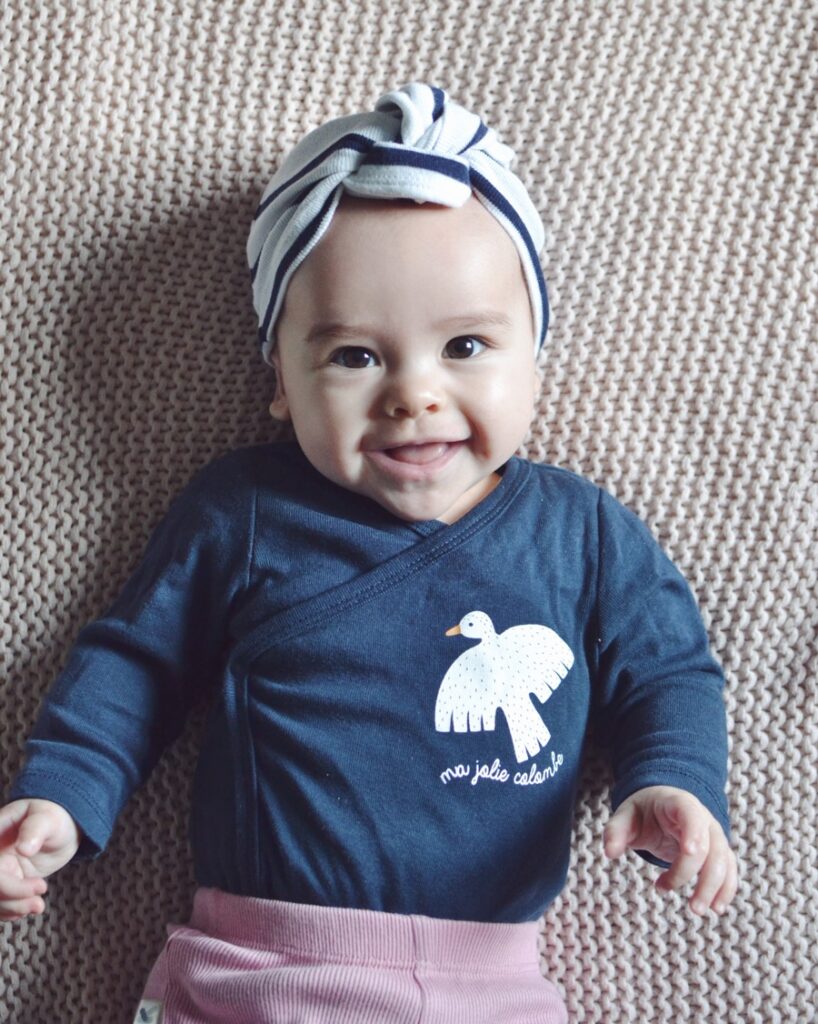
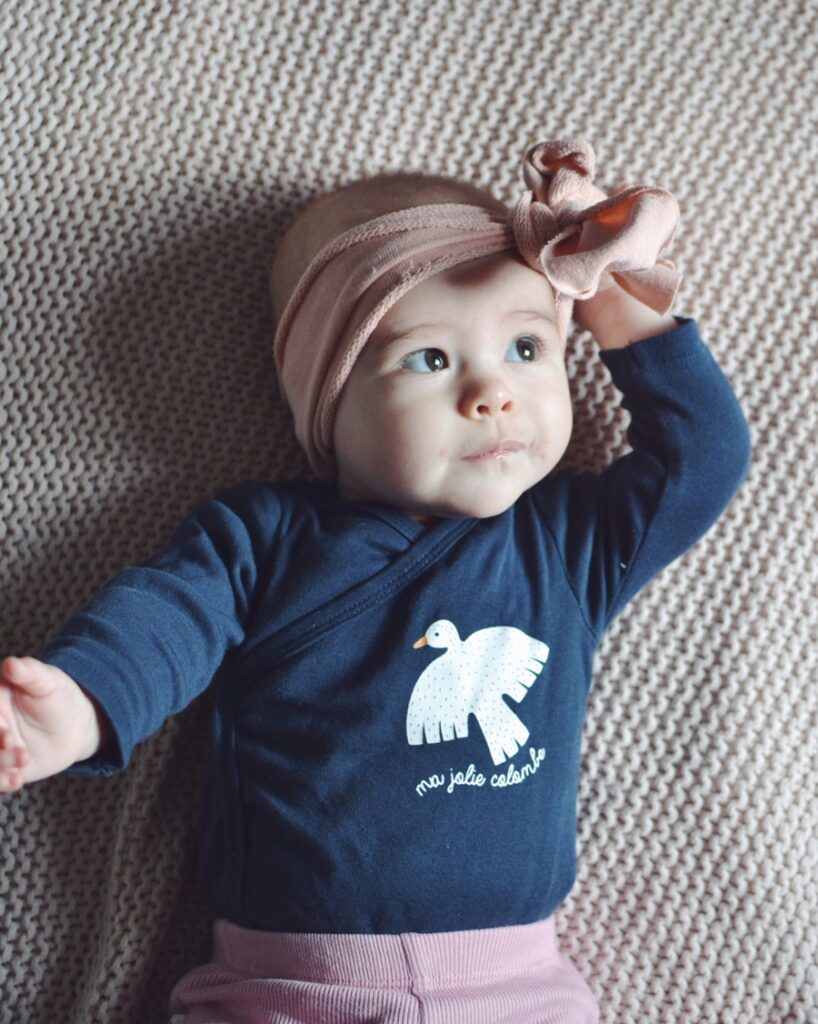
9. And you’re done! Make sure it fits correctly but you can adjust easily if you need to. When I make this again, I’ll definitely be more generous with the fabric at the back so the turban comes down lower at the front, Eva’s got quite a big head it seems! I really hope those steps made sense but let me know if not and I’ll be happy to help.
Quick and Easy DIY No Sew Baby Bow Headband Tutorial
This is a really quick one to make! It doesn’t need any sewing or fabric glue if you use a t-shirt, the dream. You can also use contrasting colour fabric or a ribbon for the bow section too.
This is a little tricky but once you’ve got it, it should only take a few minutes to make!
What you’ll need:
- Scissors
- A t-shirt

1. Cut a strip of an adult t-shirt sleeve or the body of a kid’s t-shirt about 3 inches wide.
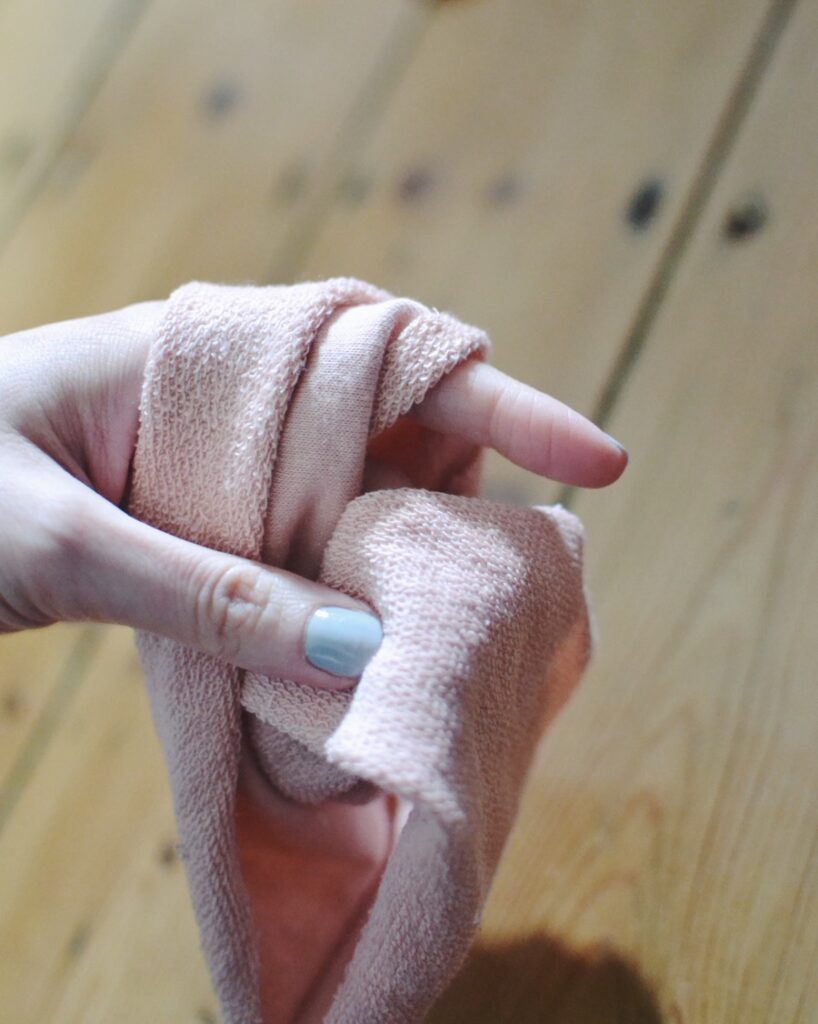
2. Grab the loop and tie a slipknot leaving enough excess for the headband section at the back.
3. Once you’ve tied the knot, keep the front loop at the front and don’t pull too tightly. You can adjust the size here to make sure it’s right for your little one.
4. Grab a strip of fabric about an inch or two thick, you can also use ribbon or contrasting fabric for this bit. Loop the extra fabric through the knot loop, this will secure the headband.
5. Tie the extra strip of fabric in a bow or you can simply tie a quick knot and trim if you prefer.
6. And tadaaaa, you have another headband!
I hope you liked these quick little tutorials for super cute baby turban and headbands! I made them and wrote this tutorial in one of Eva’s nap times so some areas may be a little rushed. If there’s any extra info you need, just let me know and I’ll be happy to help.
I’m definitely going to be making more of these for summer and as her hair grows, they’ll be so handy to have around!